
Post-processing - Tim Parkin deals with low contrast images

Tim Parkin
Amateur Photographer who plays with big cameras and film when in between digital photographs.
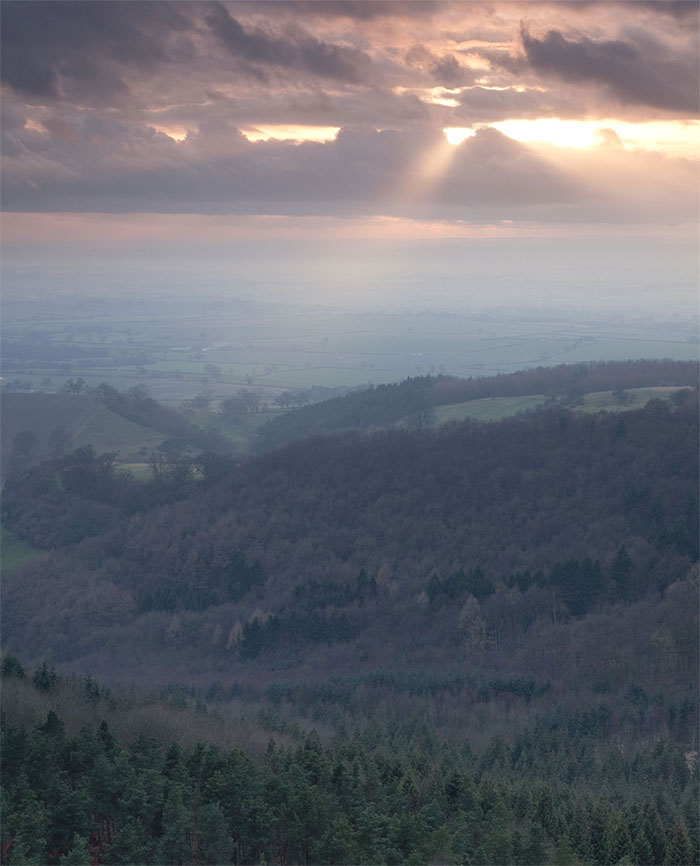
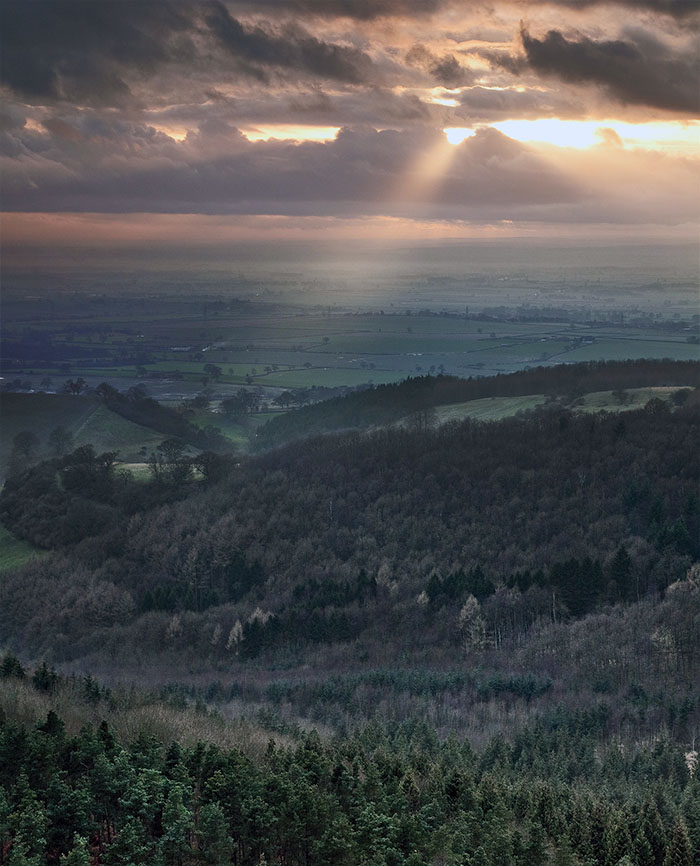
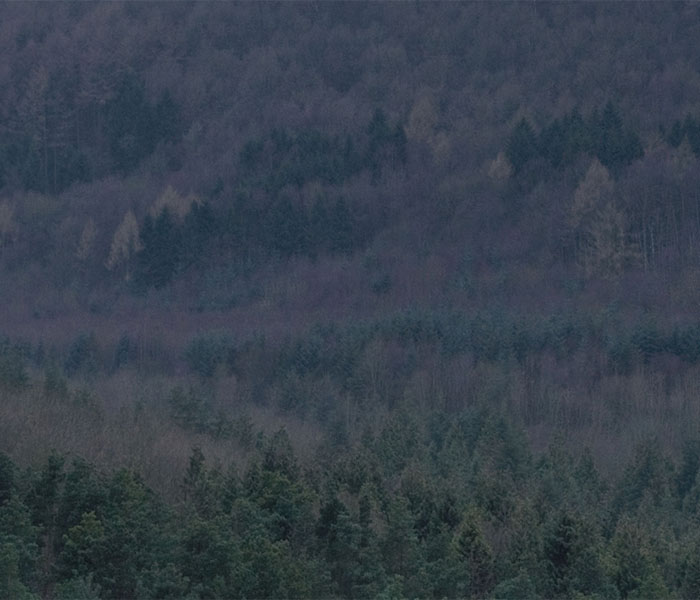
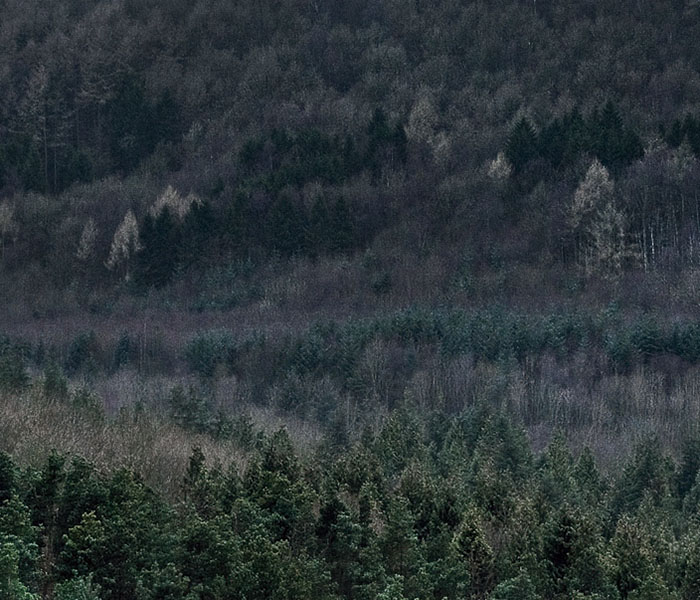
I'm looking at post processing photographs with haze or mist today at the request of Kostas Petrakis. The picture above isn't particularly great but it's as extreme an example as I could find for use in demonstrating my techniques. The picture below shows the whole picture followed by a sample from the mid-ground where you can use a slider to see the before and after shots.
In the video I'll be using techniques such as local contrast enhancement, shadow highlight, colour balance and component curves and finally an interesting trick with unsharp mask. I'll be going into how each of these techniques work (in possibly a little to much detail but you can skip ahead because of our new streaming video server).
[/s2If]