Lizzie Shepherd talks about setting up her garden gallery

Lizzie Shepherd
Lizzie is a full time professional photographer based in North Yorkshire, specialising in landscape, nature and travel photography. She writes for a number of magazines and runs small group photography workshops. Lizzie’s work is on display at the Joe Cornish Galleries in Northallerton and she has also taken part in a number of different events and exhibitions in the UK. She loves nothing more than being outside, photographing the landscape and looks to find ways of capturing some of our more hidden scenes, hoping to show the beauty and intrigue of the world around us.
When we looked into moving house a few years ago, one of the criteria I had was that it had to have some outbuildings. I had all sorts of ambitious ideas about a large studio or gallery, even a teaching space where I could run processing workshops. Financial reality then set in and I set my sights a little lower, thinking in terms of a small studio-cum-gallery, but somewhere where, potentially, I could set up still life and macro scenes.
Our new house had the perfect space for this but it needed work. Somehow there was always something else more urgent needing attention. However, this year I decided I was going to bite the bullet. Having got accepted for North Yorkshire Open Studios, I needed somewhere that would show my work to its best. Dotting photographs around the house wasn’t really an option - so it was time to spend some money and get the outbuilding sorted!
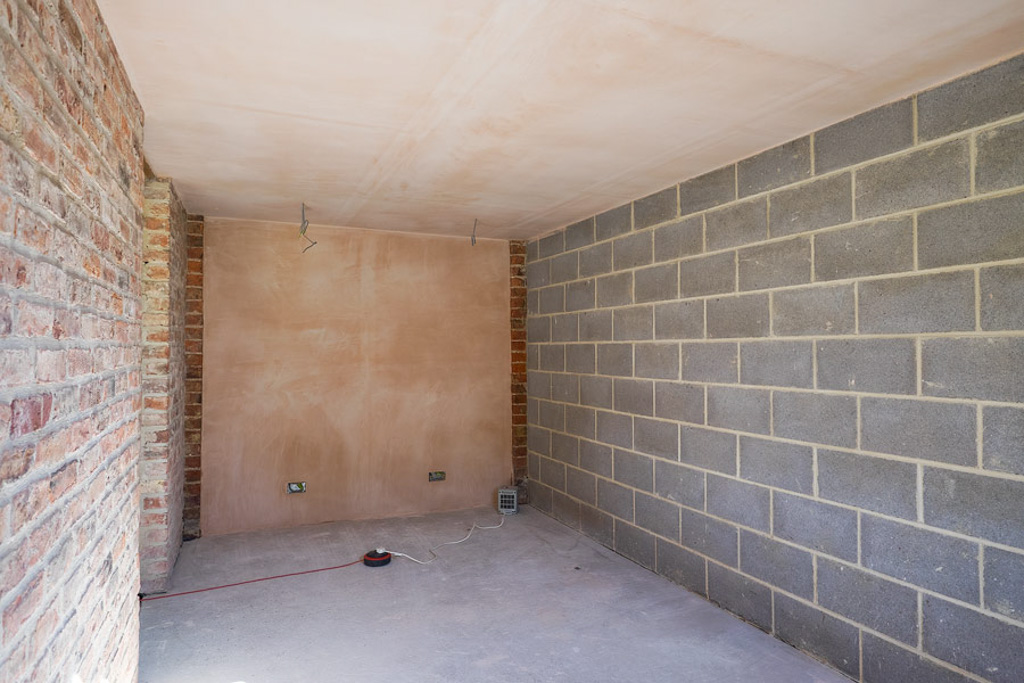
My original plan was to get the ceiling and three of the walls plastered (two breeze block, one rather crumbly brick and mortar), just leaving one bare brick wall. However, the quote to do this, including using insulated plaster board in some areas, was a bit eye watering. Perhaps just painting the breeze block white would do the job.
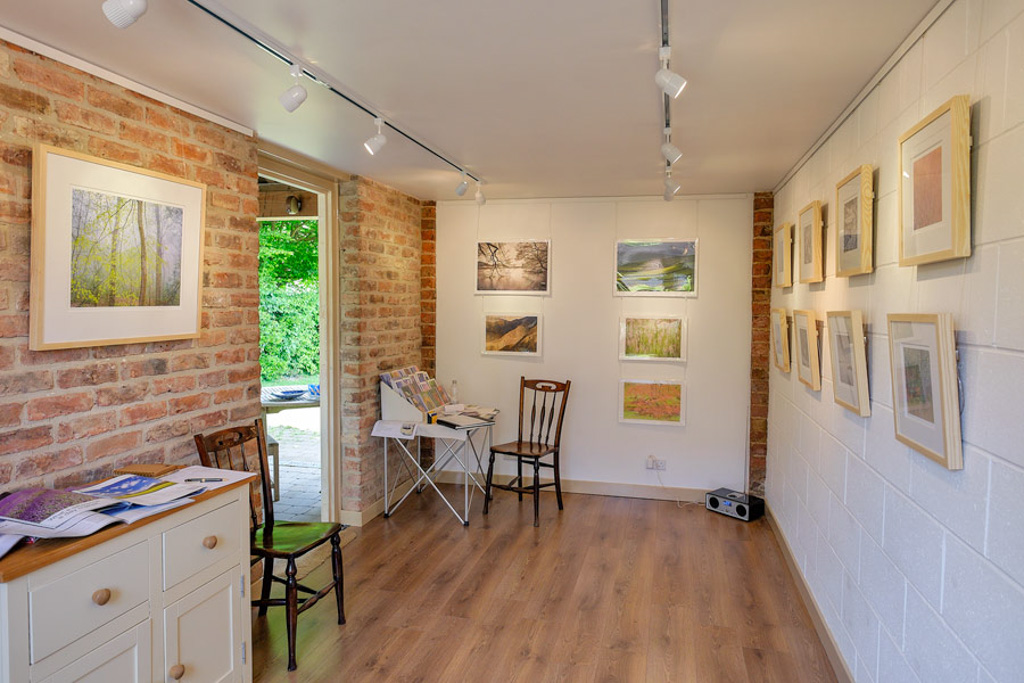
As luck would have it, at just this time I noticed a photo posted by Finn Hopson of his fabulous gallery in Brighton. I was delighted to see photographs displayed on a bright white breeze block wall, and looking fabulous. The ceiling - with exposed rough wood rafters and plywood above - would have to be plastered as would the crumbly brick wall, but everything else could remain.
Next consideration was lighting and power. A rather primitive solution was in place - but at least the wiring was there, so I just needed to get wires hidden behind plasterboard and give myself some options for power sockets and decide on the type of lighting. It came down to a straight choice between LED fixed downlights or a track lights. There were pros and cons to both options but I liked the greater flexibility of track lights and it was also going to be a far cheaper option, particularly as it meant we could just use cheaper plasterboard for the ceiling with old fashioned wadding insulation above.
A local electrician came and did the first fit of the wiring for me, followed by plasterers to do the end wall and ceiling. Next was my first job - painting the newly plastered wall and ceiling before the lights and sockets were fitted. Unfortunately my plasterer had advised me to use watered down PVA to seal the plaster (once dry) before painting. I now know this to be a really bad idea - the paint does not bond well to the PVA and ends up sliding all over the place. I had to do something like 5 coats of white paint - not good for my sense of humour! Of course I knew the breeze block would require many coats with it being so porous and rough surfaced, but I now know better reference new plasterwork.
The lights and sockets were duly installed and the electrical work tested and signed off. The track light bulbs did not give quite as diffuse light as I’d envisaged but it’s a pleasing kind of light, sympathetic and a good colour temperature for displaying work in my opinion. Also, having now hung work up on the walls, the lights seem far more subtle and diffuse than when they were just shining straight onto bright white walls.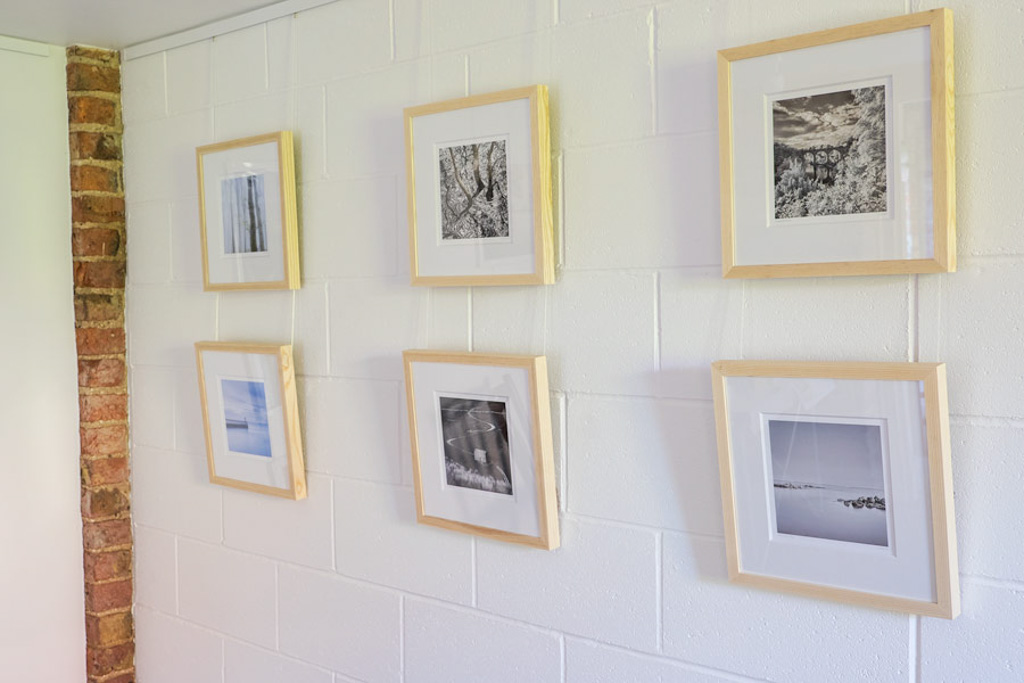
Next decision was a hanging system - an essential component and one where I knew not to cut costs, having struggled with some rather cheap and nasty systems in some places where I’d exhibited in the past. I’d picked up a STAS leaflet from Lionpic at the Photography Show a few years back and, with several people also recommending their system, this was my choice. I like the fact that you can slot the perlon cords in from below, rather than having to slide them in from the far end of the rail. They also have a range of very good and easy to use hooks, easily adjusted and strong enough to hang substantial frames. Better still, I noticed they had something called ‘picture hits’ which looked like a brilliant solution for hanging unmounted prints on the wall.
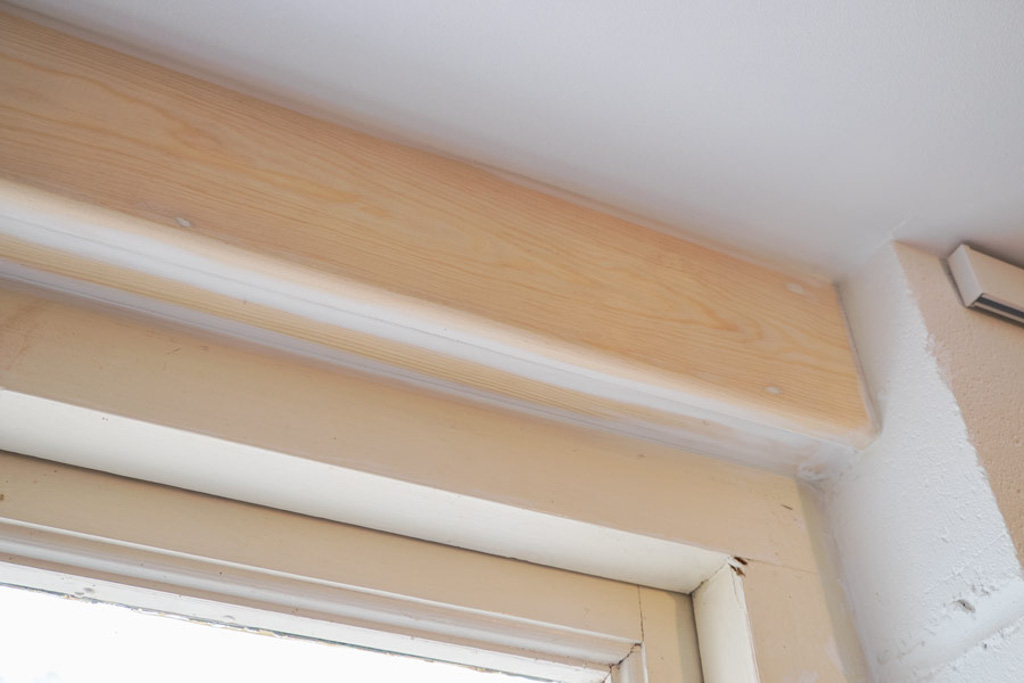
Having put what felt like about 50 coats of white paint on the walls, it was time to install the hanging system. It’s a beautifully system to install in a perfectly square room, although if, like me, you have a room where everything is a little off kilter, then it does take a bit of time to work out the optimum level for the rails. Drilling into red brick is also incredibly hard work! At the same time, there was also a fair bit of work required on the wood work. Both doorway and window frame required some boxing in to cover unsightly gaps and the exterior of the window needed some new putty and mastic.
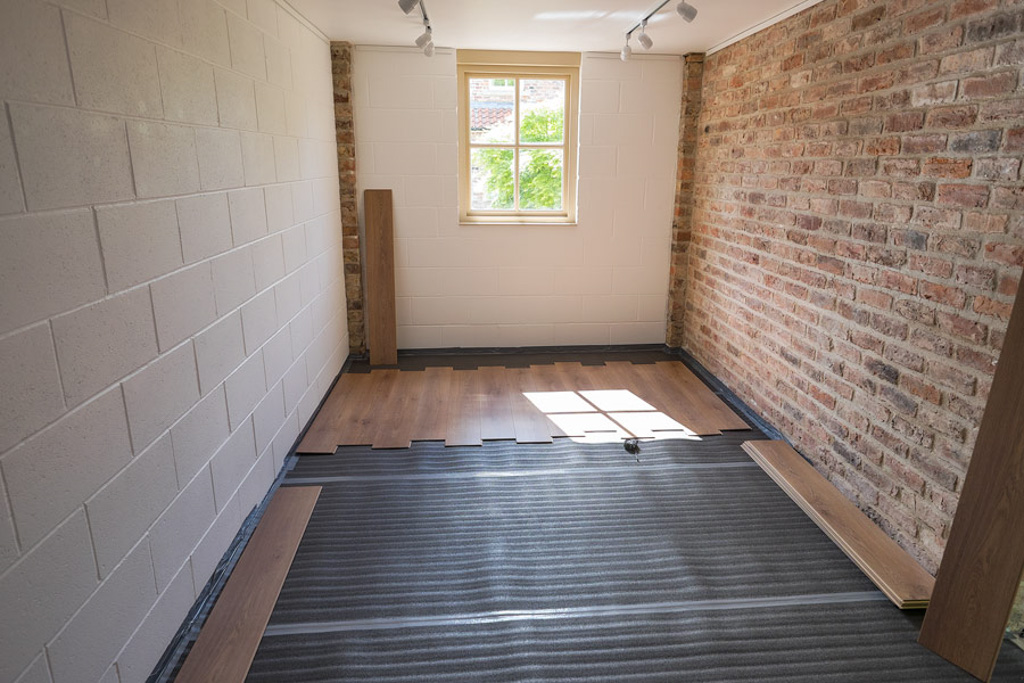
Eventually, all that remained was to put down a floor. I had investigated a number of options and, once again, cost was the deciding factor. Decent quality laminate flooring can be bought for around £6 a square metre - with my studio only being around 14 square metres, this meant not too large an outlay required. The existing floor was slightly rough but reasonably level concrete. I filled in any gaps that looked problematic and then put down a 5mm foam underlay with a damp proof layer incorporated.
Next the joys of cutting the laminate boards to fit the fiddly corners, with the square brick ‘pillars’ and ensuring the edges were correctly matched and no joins in awkward or unstable places. I treated myself to a hand held circular saw to make this task a little quicker - definitely a good move!
Like all these things, much of the work is in the preparation, ensuring you measure and cut correctly. It was still probably a couple of days work to put the floor in, that said. The difference it has made to the warmth of the room is extraordinary. The final piece in the jigsaw was to put in a very plain skirting board to cover the laminate cut edges. Again, the corner brick pillars were a complete pain, meaning loads of mitre cuts for all the multiple corners!
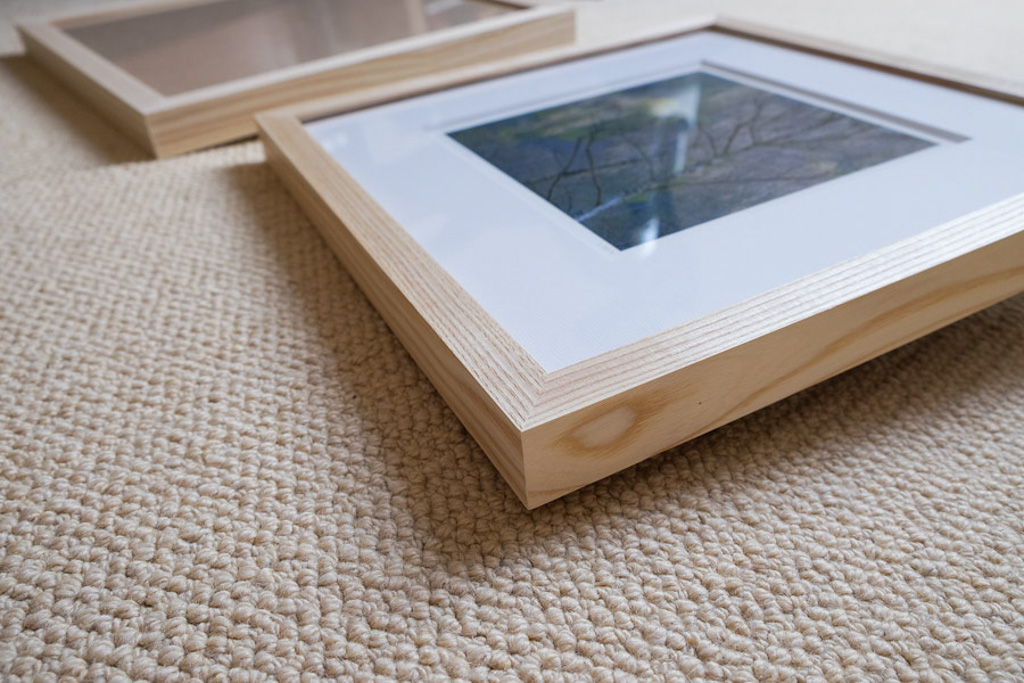
Of course the most exciting thing, from my point of view, was deciding what to hang in my new studio! I’d long ago identified the frames I wanted to use - a natural ash box moulding, supplied by the Ready Made Picture Company.
I ended up ordering 20 square frames (36x36cm) and one larger 5x4 ratio frame. I already had some pre-cut triple core, astral white mounts ready to go for the square frames, so I was in the happy position of not needing to cut countless mounts - not my favourite task! For the prints themselves, I had shortlisted a number of candidates and then whittled these down to a combination of personal favourites, local interest scenes and things I thought might be popular - whilst ensuring there would be a reasonably cohesive feel to the combination of works on display.
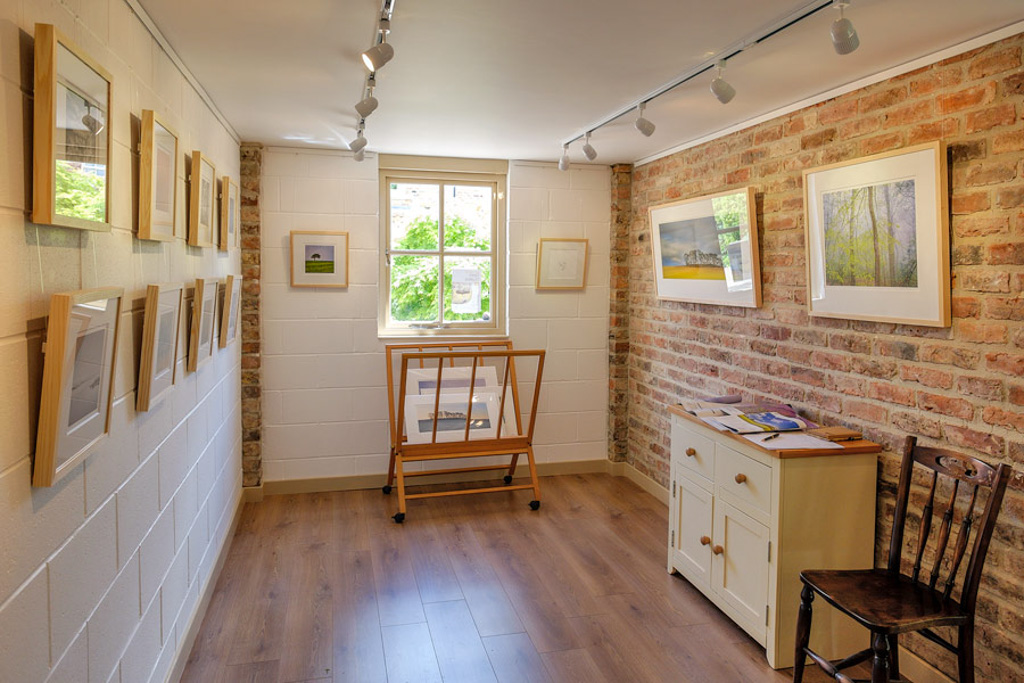
Before putting pictures in frames, I waxed each frame with a clear wood wax, just to bring out the grain a little and to add a little protection to the bare wood. I already had a picture framing tab gun and tape for sealing the backs - so putting the prints into the frames was reasonably simple, bar the usual nightmare of trying to eliminate dust. It’s not so bad for the small frames but the larger frame for my A2 print did drive me to distraction! Of course hanging them was a breeze on the wonderful STAS hanging system. I also ‘borrowed’ a really large frame from the house as a signature piece. Then on one wall, I chose a selection of prints to hang unframed and unmounted using the excellent ‘picture hits’.
Everything took so much longer than I’d expected and come the start of North Yorkshire Open Studios (last Saturday at 10.30am) I was absolutely shattered! Combine this with a sudden panic - ‘what if no-one turns up?’ and my delight with how the studio had turned out was somewhat tempered by apprehension. We are not in a touristy part of the county and there are no other studios close by, so anyone coming here would have to make a very deliberate effort to do so. In that context, I was pleased to get over 20 visitors on the first day, although Sunday was a little quieter.
Most pleasing was the incredibly positive comments about the studio and the pictures on display - it was lovely to see people appreciating the huge amount of work that had gone into both! Sales over the weekend were greeting cards only - interesting and encouraging that the much more expensive hand made cards have proved more popular than the ‘mass’ printed range. However, there were also quite a few encouraging noises about people coming back to buy the actual prints - of course, as one visitor pointed out, you don’t have to make a snap decision because, typically, photographs are not one off prints. And people do often come back to you later - as I have seen countless times over the last couple of years, with my work on display in the Joe Cornish gallery.
So I’m hopeful in that respect and, in any case, very much see this as the start of things.
North Yorkshire Open Studios is on again next weekend - Saturday 13th and Sunday 14th June, 10.30am to 5.30pm. If anyone is near enough to visit, please do drop in and say hi - it would be lovely to see you! And if you are passing by, but not during those times, do drop me a line as I can also open by appointment.