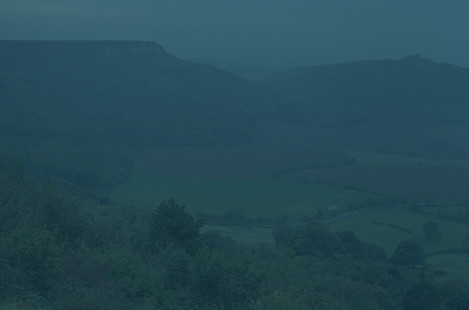
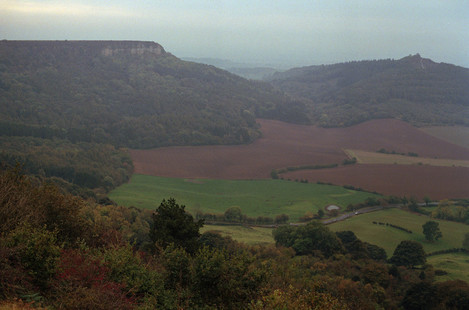
Tim Parkin outlines a new technique...

Tim Parkin
Amateur Photographer who plays with big cameras and film when in between digital photographs.
Amidst all the talk that film is now dead and Kodak is going away, a few people have reacted to the announcement of the new Kodak negative films and have gone out taking pictures. It's true that for the 4x5 photographers amongst us, the death of quickload meant that we had to use double dark slides and in doing so, they realised that Kodak actually made some decent films. And so a few people really started experimenting with these new films and found them a revelation; high dynamic range, relatively low grain and great colour accuracy. However, anybody who has tried to scan their own negative film will have come across the issues with inverting the scans and getting a good result.
The usual experience is when someone uses the in built profiles on their scanning software and inevitably gets something that looks substantially worse than the transparency film they had used previously. The negative film quickly gets abandoned, even though the dynamic range really impresses. The really persistent photographers will try some external software, like ColorNeg for instance. Sometimes this will give good results but it's hit and miss and sometimes the noise becomes intolerable, among other issues. The really, really persistent end up developing their own procedures for inverting based on workarounds in scanning software, canned Photoshop curves or for the really geeky, ICC profiles. Well I ended up being really, really, really persistent as I was sure there must be a simple way that should work with most negative material.
Now I haven't managed to perfect this so far but I think it’s worth sharing my general process and asking people what they think. First of all, here is my general thinking around why some the 'usual' Photoshop technique doesn't quite work. In order to explain that, we need to know what the usual Photoshop technique is.
Well, the idea is that the black and white points in a scene should be neutral and then as long as we colour balance the midpoint, the result should be a fairly good approximation. The process goes something like this.
2) Add a curves adjustment layer
3) Open the red channel and either turn on clipping
4) bring up the black point until you start to see clipping; bring down the white point until you start to see clipping
5) repeat for the green and blue channels
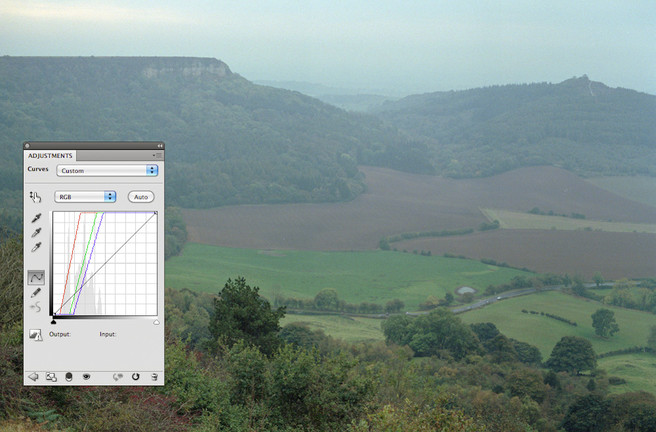
6) adjust the contrast curve and grey point
Now, this seems to get pretty close but typically produces a pretty flat looking picture and sometimes has some very difficult to remove colour casts. I should add that it is very important to turn off all colour management in your scanner when doing this - if your scanner converts its results into a working space ICC profile then the inversion process will be a lot more difficult and less consistent.
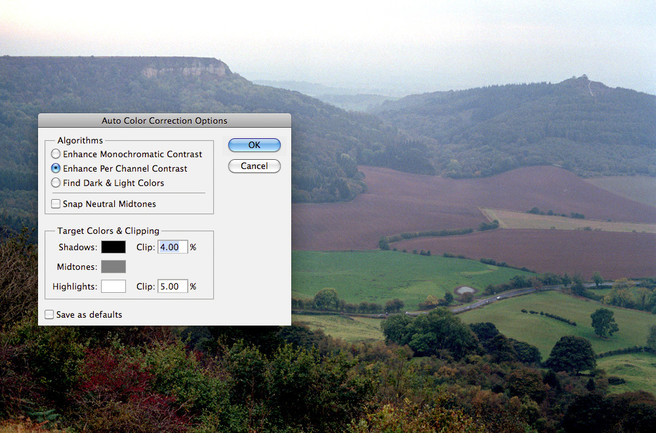
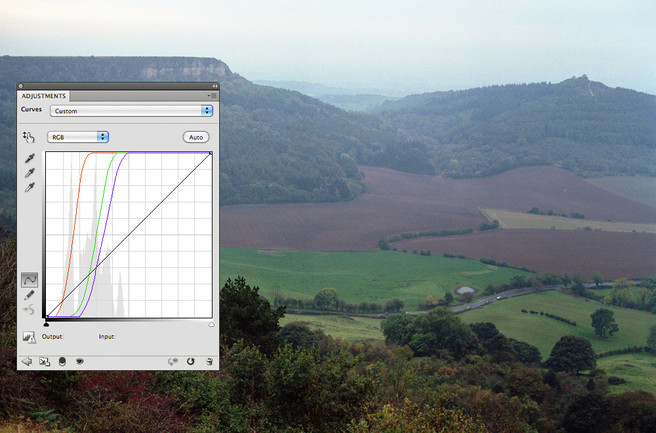
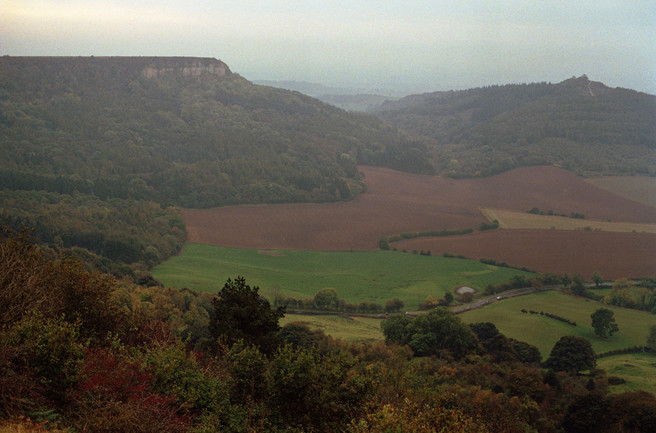
Anyway, I was wondering why this process didn't quite work properly and after scanning an Ektar negative recently I realised that its colour cast was dominantly in the shadows and, when I was tested Portra 400 recently, I noticed that the very brightest highlights also had a colour cast. This simple realisation led me to think that we shouldn't be setting the black point at the darkest part of the image but at the darkest value that doesn't have a colour cast (and the same for the highlights). Now if we do this we obviously we end up with a lot of clipping in the shadows and highlights. To do this easily and with a nice preview of the effect, we can use a tool available in the curves adjustment dialog. If you 'alt' click on the 'auto' button on the curves adjustment layer you get a prompt that allows you to set the percentage amount to clip the percentage amount to clip both ends of the curve (see Adobe help page).
By using various values (depending on how dark/bright your content is) you can see that the colour changes. I find great success from 1-4% clipping but obviously, this is photographic content dependent and I have used many pictures where 0.03% has been fine and others where I've added 8-9% clipping.
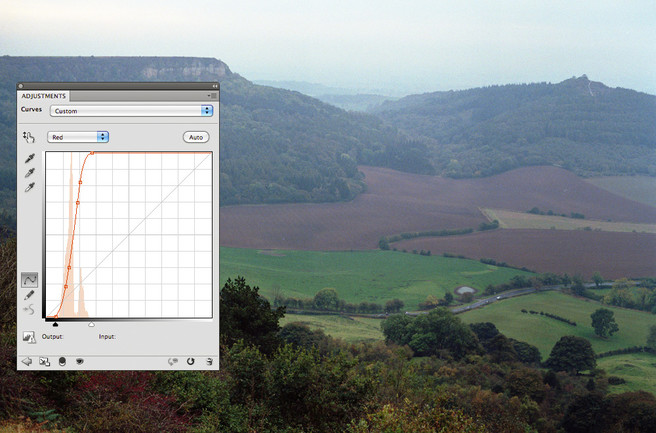
Once you have something you like, you need to fix the highlight and shadow clipping. You can do this by adding some extra points to the red, green and blue curves to roll off the highlights and shadows - checking to make sure you remove the clipping by using the 'View Clipping' options mentioned previously.
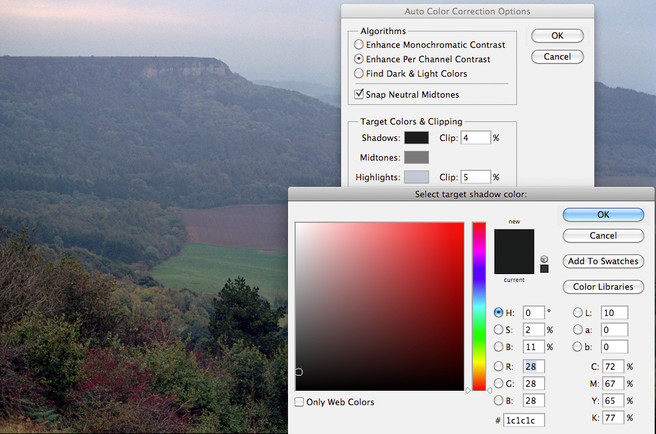
This typically gets me pretty close with most of my scans, however there are a few other options I'm playing with that will take this technique a bit further. You will notice that on the curves options dialog, next to the shadows, midtones and highlights you have a colour box (well, OK, black, grey and white box). You can click on this box and set the colour for all three points. This allows you to tell photoshop to set the clipping point to bright yellow/orange instead of white for instance. This could be very useful if you have a picture of a sunset where you want the brightest point is the setting sun which should probably not be white.
These colour pickers can then be used to fix your highlight and shadow colours and your midtone overall colour. If your picture is looking too cyan, click on the midtone colour picker and move it from grey to slightly reddy grey (red being the opposite of cyan - always good to know your colour complements in photoshop tweakery). You can also make your deep shadows a blue colour by making the shadow picker slightly blue.
One other option I've also tried playing with, and haven't quite assessed yet, but it looks promising, is to set the clipping percentage values as you wish, and then set the white point to a grey-white (maybe 10% down from pure white) and set the black point to about 10% above pure black. This shifts the whole curve up by 10% at the bottom and down by 10% at the top and can stop the clipping. This needs some more experimenting with over the next couple of weeks.
I'll post a video of all of the techniques in the next issue with some samples processing some challenging negatives - so if you have anything you think would make a difficult neg inversion, please let me know and we'll try to include it.
UPDATE: It turns out you don't really need to roll off the tops and bottoms of the graphs. And if you set the clipping point


