Avoiding Hypothermia (and worse!)

John Clifton
My photography began at my father's side - he processed and printed his own pictures to save on costs, so I did the same. I still hope to ‘dust off’ my darkroom gear at some point, but have spent the last few years learning to make great digital prints. I love the convenience that digital offers, and the immediate visual feedback it provides, but it is still that final analogue print that really ex-cites me. When not working at Trailblazer Outdoors, in Pickering, I am usually out walking the fabulous land-scapes of the North York Moors National Park. This is a place I find endlessly inspiring, offering a huge variety of scenery and subjects in a compact and accessible package. I am also co-organiser of #MOORSVIEW - a bi-annual photography seminar addressing landscape and wildlife photography on the North York Moors and Coast.

Neil Armstrong
Trailblazer Outdoors and Scarborough & Ryedale Mountain Rescue Team.
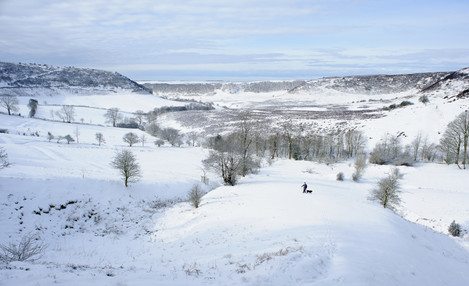
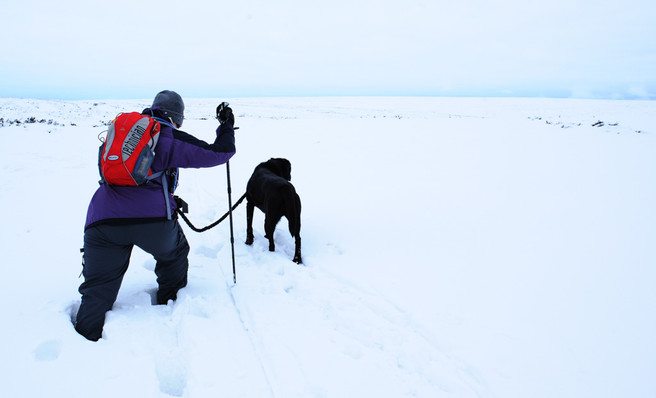
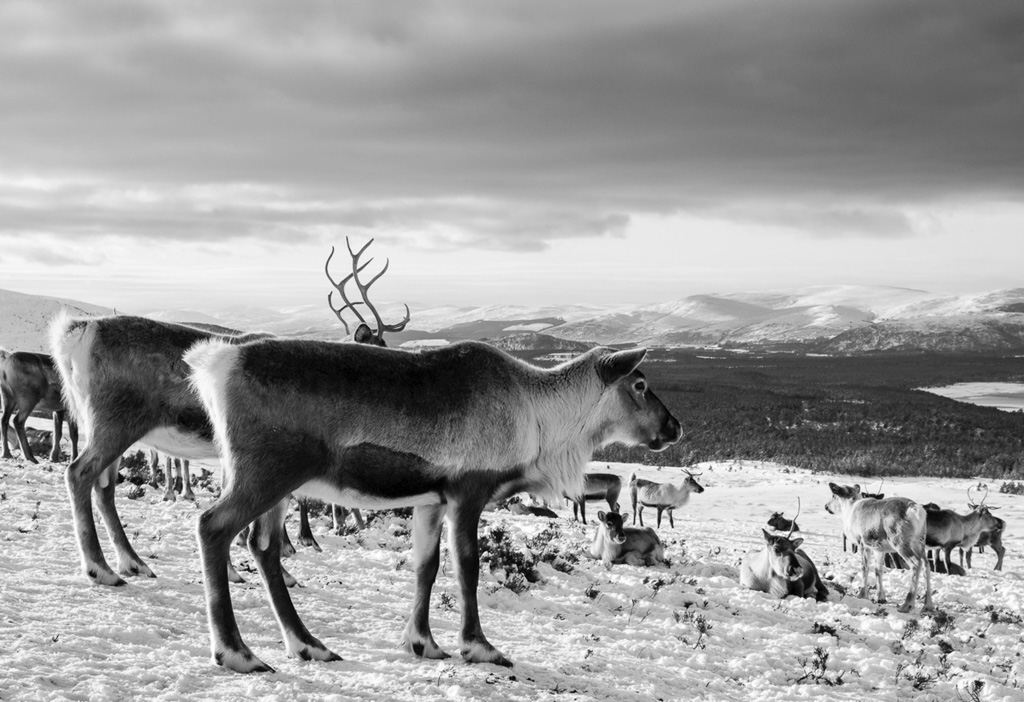
Even the relatively benign landscape of the North York Moors can prove a challenge to your stamina in snowfall
With snow still on the tops of the mountains in Scotland and a covering in the Peak District, winter conditions are still with us as we head into March. John and Neil take a look at taking photos in the wintry conditions and how to plan your kit.....
At this time of year you start to hear reminders that you should think about fitting winter tyres to your car, increase the concentration of your screen wash, make sure you put a snack or two in the glovebox and possibly pack a snow shovel in the boot and an old duvet to keep warm in case you get stranded on the roads. But how many of us take heed of this well-intentioned advice?
In the same way, how many photographers do a proper review of their kit before heading out to capture the beauty of the Winter landscape? And how much awareness do we have of some of the risks we may be running when we are lured by the crystalline magic of the season..?
With this in mind, you will find below a few thoughts on some of the things we ought to be aware of over the Winter in terms of comfort and safety, and some of the outdoor kit we find useful.
Consequences of getting cold
Have you ever shivered when out taking landscape photos? Well, believe it or not, you were suffering from the first signs of hypothermia. People often associate hypothermia with extremely cold countries, but in fact, many people in the UK suffer mild and even more extreme cases in winter. Many cases of hypothermia in the UK occur at temperatures closer to zero, and even slightly above it. This is partly because we do not dress appropriately for the conditions, and partly because our damp climate adds to the chilling effect.
Hypothermia is a lowering of the body’s core temperature to below 35º C - which is the normal internal temperature of the body where all your important organs are held. In mild cases, as mentioned above, shivering occurs. This is the body’s response to getting cold, and it’s automatic - there is nothing you can do about it. The shivering is uncontrolled as it is your muscles’ attempt to generate heat through rapid movement.
As they do this, our muscles burn glycogen very quickly. Glycogen is the body’s main store of glucose and, therefore, energy. In this situation, if something is not done to prevent further chilling, the body core temperature can drop even lower. If this happens, and the body’s store of glycogen is used up, you will become disorientated and confused - leading to bad decision making.
This could only result in you taking a bad photo, but in a worst-case scenario, it could result in an accident or trip. Alternatively, you could make a simple navigational error - taking the wrong route off a peak, for example, or getting completely lost in fading Winter light. In extreme cases, particularly at altitude, sufferers hallucinate and often remove clothing believing that they are too hot..!

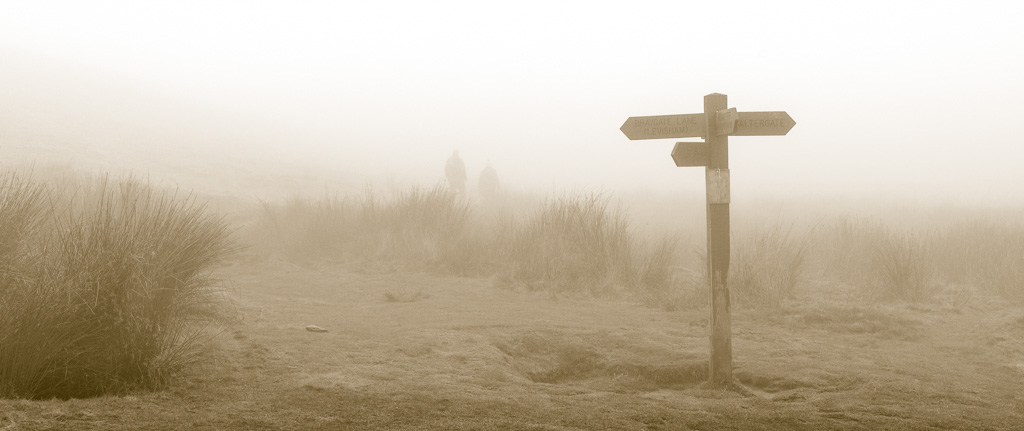
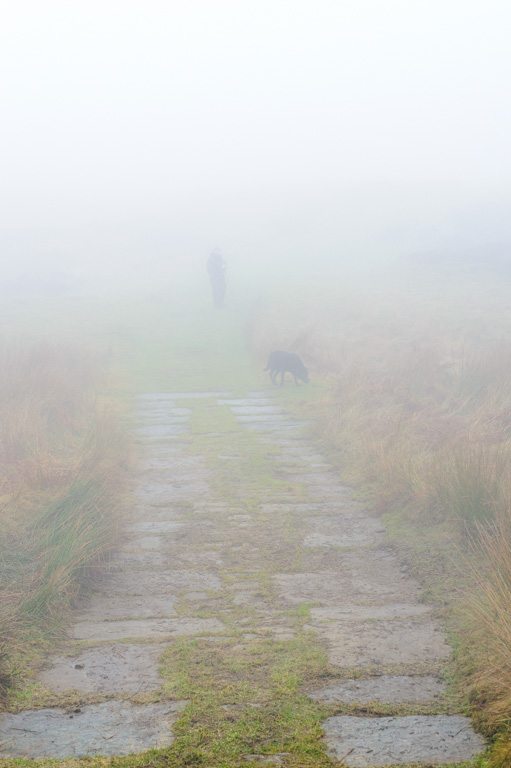
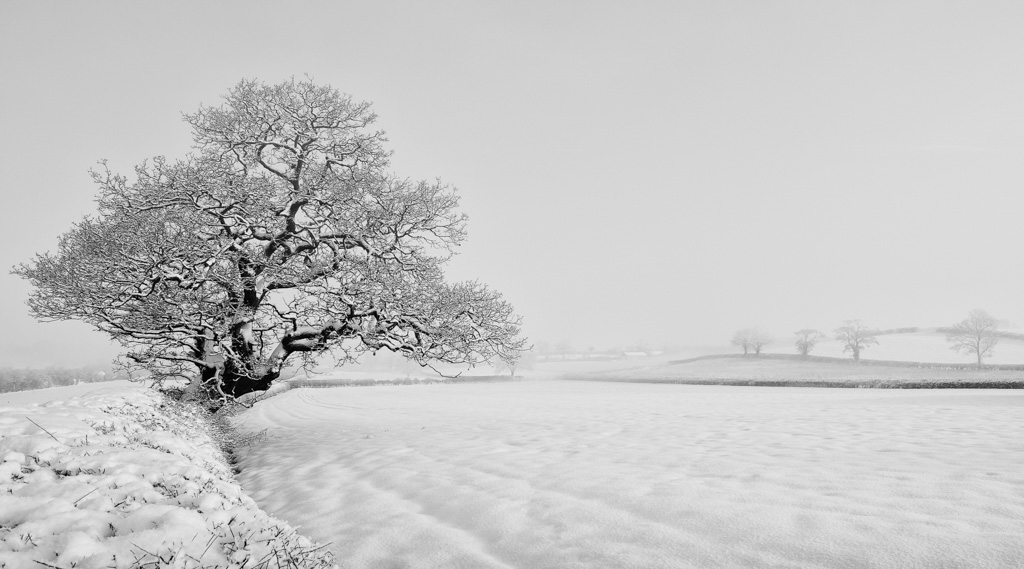
Mist and fog are often sought after to add mystery and atmosphere to a shot, or simplify and soften busy compositions. But they can pose a serious navigational challenge in winter..!
Avoiding Hypothermia
So how can you avoid getting cold or hypothermic? The most obvious solution is to take plenty of clothing options with you. However, we tend to be guilty of getting overdressed when we first leave our nice warm car to walk off into the hills - only to find that within minutes we are overheated. This can lead to sweating - which can be uncomfortable in summer but can lead to rapid chilling in winter once exercise has stopped.
Try and avoid this by setting off from your car slightly colder than you would like to be - within 10 minutes the exertion of walking will increase your body temperature to a more comfortable level. Measure your pace as well - it’s all too easy, with the excitement of the surroundings, to go off too quickly, and build up too much heat in the process. If you do feel yourself warming up stop and take a layer off - you can always put it back on when you find that great photo opportunity..!
Layering and insulation options
In winter I always take at least one extra layer with me, this will generally be a synthetically insulated jacket or gilet. Whilst not as warm as real down, it will be less affected by moisture - keeping much of its insulating power even in damp conditions. Real down is wonderful to wear, being supremely light and warm. But it is best to keep it for really cold conditions when the moisture is taken out of the atmosphere - that’s when it really comes into its own.
Three places it is particularly useful to keep well insulated are the head, the neck and the wrists. There are many large blood vessels close to the surface in these areas, and keeping them snug goes a long way to making the whole body feel warm and comfortable. I prefer buffs for my neck, and some kind of man made fibre hat - both of which will retain heat whilst still allowing the skin to breathe, and minimising the build up of moisture.
There are any number of glove options to choose from - thick, thin, fleece lined, waterproof, or plain old knitted. Personally, in Winter, I tend to wear a thin liner, made from merino wool, silk or a man-made equivalent. On top of this, I will wear a thicker insulating glove or mit that can be removed easily when I need to do something dextrous with my camera.
I am indebted to Janet Burdon for the next suggestion: return to your childhood by attaching a cord to the gloves - threaded through the arms of your jacket. That way they are always at hand, and you won’t put then down and walk off without them. The finishing touch, especially in windy conditions, are my Extremities wrist gators - great little items that fill that annoying gap where your gloves finish and your cuffs start.
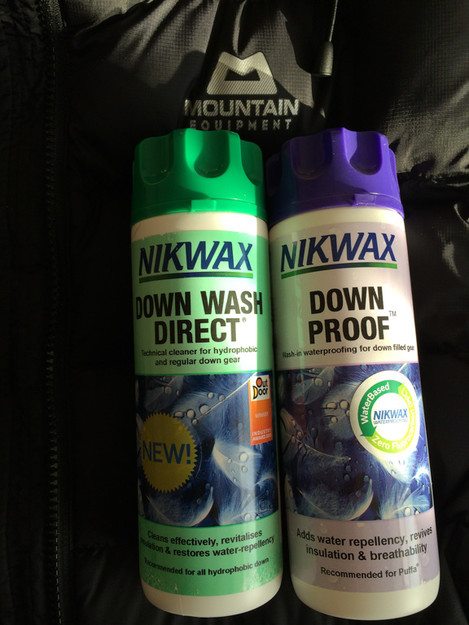
Real down is a great insulator but suffers in the wet. Modern, high-quality garments often feature a Durable Water Repellant coating on the outside, and may be filled with ‘hydro-phobic down’ - which has been treated with Nikwax to repel moisture. Down Wash Direct can be used to clean and re-proof, and re-vitalise both real and artificial down garments.
What if I do get cold?
If you or someone you are with does get cold, and certainly if they start shivering, you must take immediate action. Move them to somewhere warmer as soon as possible - a ‘bothy’ or group shelter is great for this, quickly cutting any wind chill. Make sure you get inside with them - that shared bodily warmth is very important.
If you are wet try and get some spare dry clothes on - something you should always carry with you. Then a hot drink is a good way to rapidly raise the body temperature, along with something with sugar in it as a chocolate bar. The sugar will help to boost the body’s glycogen very quickly and can help enormously if the sufferer is confused.
Once the sufferer is warm and dry, it’ll be best to forget photography for that day and get back inside, where you can get properly warm and dry. Just chalk it up to experience and make sure that next time they go better prepared - with more clothes, a hot drink and something to eat.
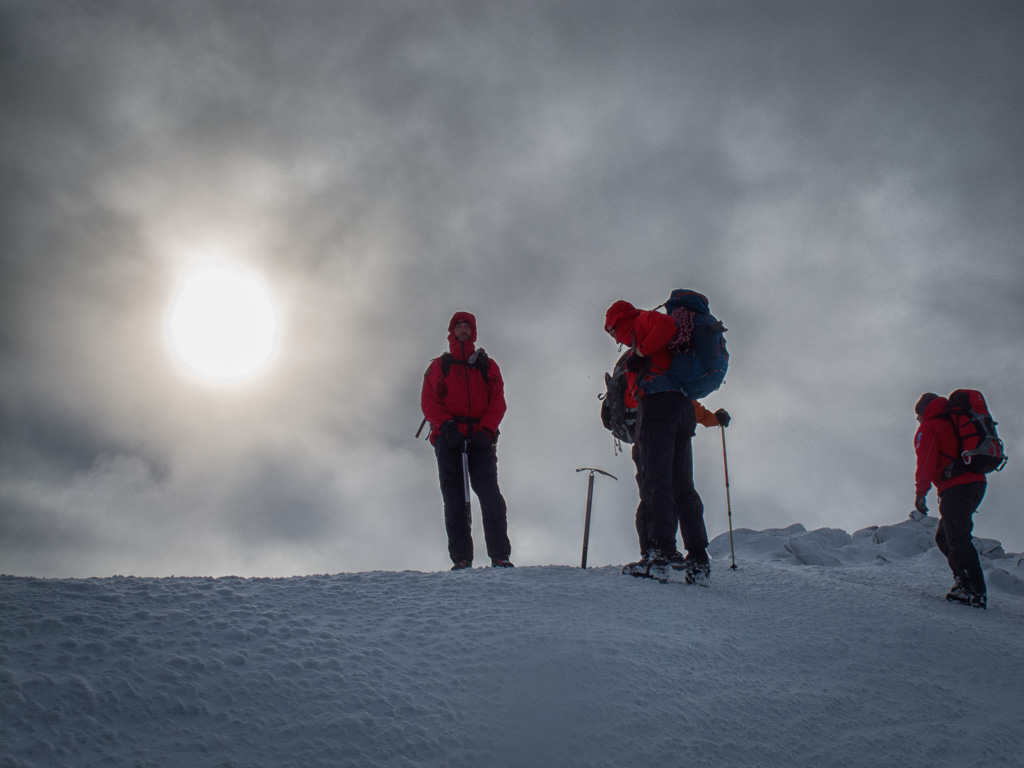
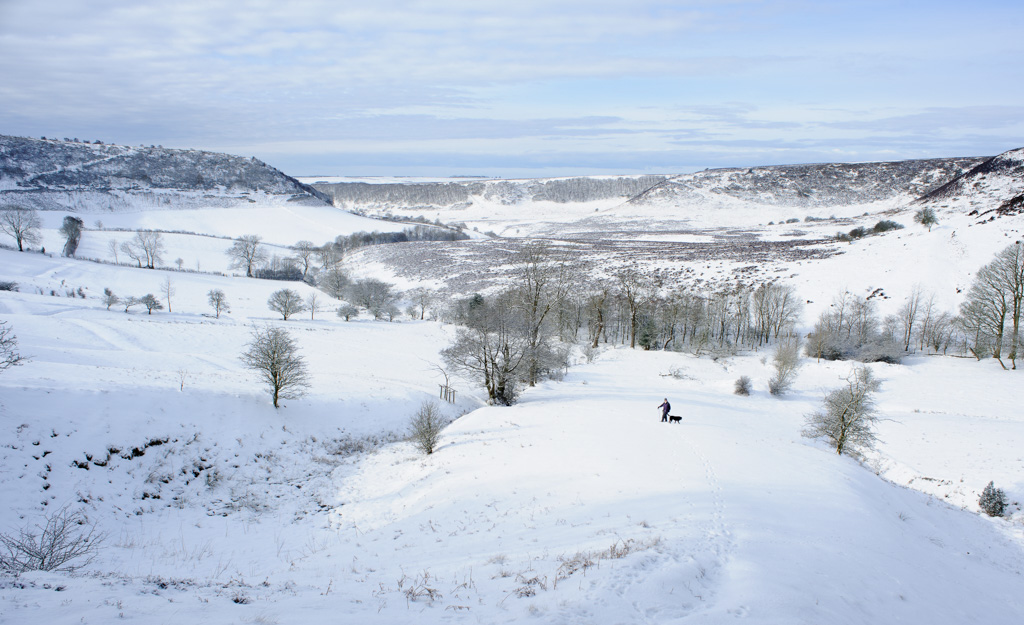
When there is significant snowfall, you should plan for even the most familiar walks to take a lot longer, and to use up a lot more energy. This is especially true when you are carrying significant weight on your back - so choose your kit carefully.’
Planning for snow
We don’t get that much snow in this Country, so it’s not something that a lot of us get used to dealing with. And it’s perhaps that very rarity that gives it such an unending appeal for the landscape photographer. Few of us can resist the temptation to get out in it on the rare occasions when we do get a significant snowfall. But you need to be aware of how different venue the simplest walk can be in snow.
Firstly, it can present significant challenges from a navigational point of view - well-worn paths disappear, along with the waymarks that usually help us judge how far we have travelled. But it can also represent a serious challenge to our stamina. At Trailblazer we tend to recommend that people double the amount of time they would normally estimate to walk anywhere and expect to expend twice as much energy doing it. Realistically that normally means halving the distance you would normally plan to walk, and making a point of staying within striking distance of some kind of shelter.
There are things that can help with this, without going in for the full Winter kit that you might need if heading into mountainous areas. Lightweight trail crampons, stout walking boots, and a pair of walking poles are all a must for me if I am out walking on the North York Moors in snowy conditions. The crampons give you traction and help you stay upright on ice or compacted snow, while the poles provide stability and allow you to use your upper body strength in driving you forwards - a technique known as ‘four points walking’.
All that effort again tends to make you sweat - losing moisture at least as quickly as you will on a hot Summer’s day. Added to this you are likely to be breathing harder with the effort, losing more moisture into the dry cold atmosphere. Two potential consequences of this are dehydration and an increased risk of chilling. So do take your water bladder with you - drinking just as much as you would in Summer - and do please wear a decent technical base layer next to your skin, to wick that sweat away. Keeping your skin dry is half the battle in keeping warm.
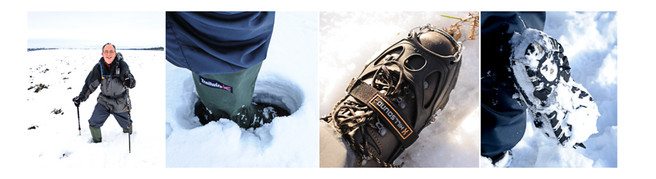
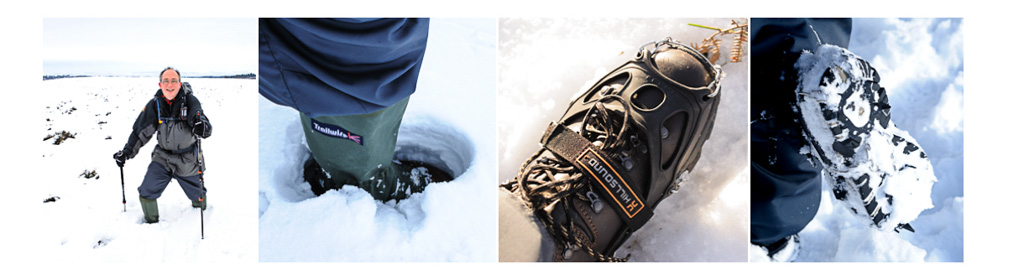
Gaiters aren’t just for keeping your trousers clean - they also stop deep snow going down into your boots. Walking poles and light weight trail crampons are also useful - helping with traction and stability in the ice and snow
Into more serious wilderness
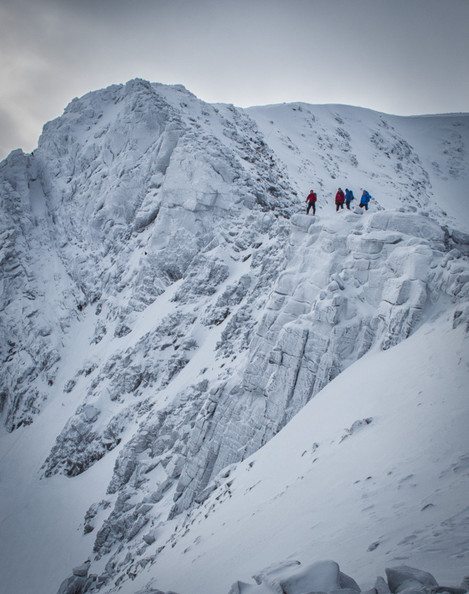
Although in recent years the UK has not experienced much of a winter there are certain parts of it that always do. One of those is the Highlands of Scotland, where photographers flock every year to take advantage of the great landscape photography opportunities. At every corner, around every turn, you could spend many hours getting those great shots.
In these areas, you will often have to battle through the snow to get to that great viewpoint. But how many of you, I wonder, have ever considered the risk of avalanche..? Most years in Scotland someone will experience at first hand the terror of an avalanche - which can easily prove fatal. Being ‘avalanche aware’ is a key skill that landscape photographers should learn when heading into these environments.
Fortunately, the Scottish Avalanche Information Service and the Mountain Weather Information Service, give daily avalanche reports for key high risk areas. When planning a trip, it's a great idea to keep your eye on these reports on a daily basis. It's not just the day that you're going to be there that will affect conditions but also the days leading up to it - so it's a good to get the history in your head before heading out.
There are three important factors you should always consider when heading out into areas that are likely to have avalanche hazards: the weather and the mountain conditions; your individual skill and experience levels; and the type of landscape you intend to travel in. If you're sticking to the lowland parts, you don't have much to worry about, but if you intend to venture up into the hills then please, please, gain the necessary experience and skills - preferably from an instructor at one of the many outdoor centres around the country.
The Scottish Avalanche Information Service provides a weather report, and also gives indications of the snowpack condition and how that varies with height. They also tell you what direction of slope is most likely to avalanche. This is all summarised by area, in a handy circular diagram or ‘rose’ - broken up into quadrants with compass directions and heights, and coloured lines showing avalanche risk.
It is a great idea to learn how to interpret these roses; there is a handy guide on their website at http://beaware.sais.gov.uk. They also produce a fantastic leaflet which you can download, or pick up in most of the mountainous areas entitled “Be Avalanche Aware”.
The avalanche reports are very localised and generally a good guide, but it's up to you as the person on the ground to make the final decision. Before heading out into the hills, particularly in Scotland, make sure you have a clear plan of where you're going that day and what you are going to do. Make sure you know what the weather forecast is for that day, and what it has been like in the days leading up to your day out. Check the avalanche forecast, download a copy of that rose, know which slopes and aspects that are likely to be the most dangerous.
Make sure someone knows where you are going, when you should be back, and try not to deviate from the route you set yourself - after all, that's the one you have planned for. If you do go off your plan, you may have little or no idea what conditions are like in the new area. If you think there are likely to be avalanche issues, make sure you know where they are and stay well clear of them.
This may all sound a little like overkill. But, nobody intends to be involved in an avalanche, and even the most experienced mountaineer or skier can get caught out. The information is there for you, so please use the services provided - get used to the way the snowpack reports read, and get familiar with those roses..!
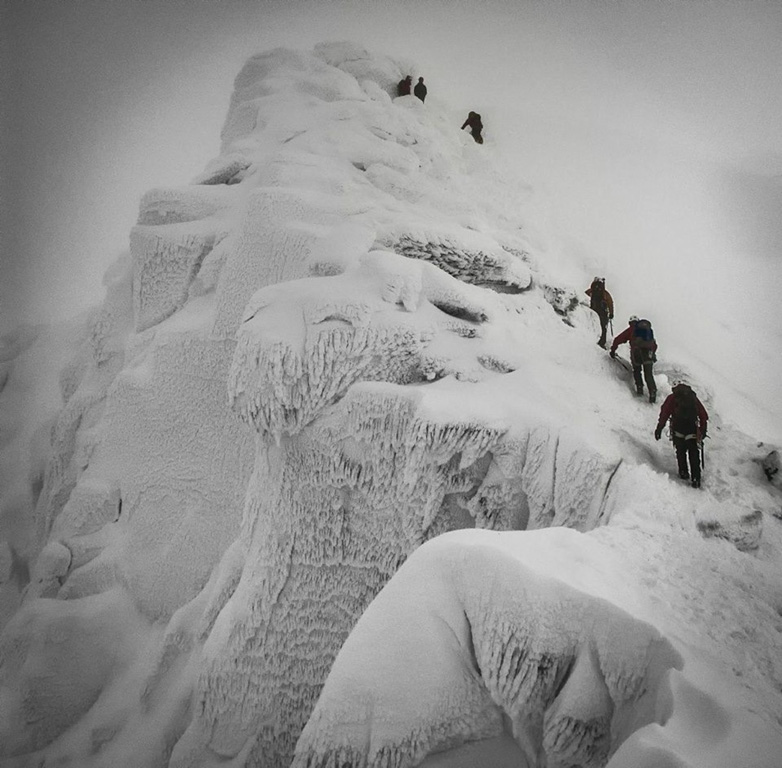
Scarborough and Ryedale Mountain Rescue Team on winter skills training in The Cairngorm
In summary
Nobody wants to stop anyone heading out to enjoy the winter landscape or capture its beauty photographically. However, the recent case of a couple who were rescued after becoming benighted in the Cairngorms is instructive. They set out for a walk with their dog on New Year’s Day, but lost their map and became disorientated in the rapidly worsening weather conditions. Fortunately, they were experienced walkers and were equipped with a bivvy bag that gave them shelter from the blizzard conditions and -20º cold.
After searching through the night, the Cairngorm Mountain Rescue Team eventually found them at lunch time the next day and led them safely off the mountain. So when heading out this winter, please do so in a knowledgeable and safe way. After all, Mountain Rescue Teams are composed of unpaid volunteers and, while they do the job without question, they really don’t want to be looking for you buried in an avalanche, or frozen to the side of a hill.
-

- mist and fog are often sought after to add mystery and atmosphere to a shot, or simplify and soften busy compositions. But they can pose a serious navigational challenge in winter..!
-

- Scarborough and Ryedale Mountain Rescue Team on winter skills training in The Cairngorm


-

- when there is significant snowfall you should plan for even the most familiar walks to take a lot longer, and to use up a lot more energy. This is especially true when you are carrying significant weight on your back – so choose your kit carefully.’

-

- Even the relatively benign landscape of the North York Moors can prove a challenge to your stamina in snowfall
-

- Real down is a great insulator but suffers in the wet. Modern high quality garments often feature a Durable Water Repellant coating on the outside, and may be filled with ‘hydro-phobic down’ – which has been treated with Nikwax to repel moisture. Down Wash Direct can be used to clean and re-proof, and re-vitalise both real and artificial down garments’

-

- Gaiters aren’t just for keeping your trousers clean – they also stop deep snow going down into your boots. Walking poles and light weight trail crampons are also useful – helping with traction and stability in the ice and snow