
Putting it into Practise

Tim Parkin
Tim Parkin is a landscape photographer living in Scotland who co-founded On Landscape magazine. Alongside his photography and writing he also co-founded the Natural Landscape Photography Awards, runs a film scanning business and is a judge for other international landscape and nature competitions.
Following on from my previous article on pinhole photography I decided to create my own film pinhole photographs using a large format camera and a converted Copal 1 shutter (I removed the lens elements and inserted my pinhole, mounted on a suitably sized circular plastic sheet, into the back of the shutter). This conversion allowed me to try some full frame 5x4 pinholes and also some 6x12 pinhole photographs using a Horseman back.
At the end of this instalment, I am also going to give a few links to books, photographers and resources that will help you along.
To begin with, my experience of pinhole photography was quite intriguing. There wasn’t much ‘accurate’ framing going on. On most pinhole cameras you get ‘lines’ that show you the field of view for your camera. On my large format conversion, I had a couple of choices. Firstly, I could use an equivalent focal length lens to check my composition if this didn't match the focal length I could just stop it down to get an idea of the framing. This won’t be 100% accurate for the frame edges (because many modern lenses don’t have the exit pupil at the same plane as the lens board) but could help get the balance of a picture right.
Secondly, I could take the pinhole out of the back of the copal shutter and check the position of my corners using the 'chopped' corners on my ground glass. In the end, neither of these techniques were 100% satisfactory and I came to the conclusion that a camera with diverging line markings to show the field of view is a pretty good compromise and fits with the philosophy of pinhole photography e.g. see the Reality So Subtle camera below.
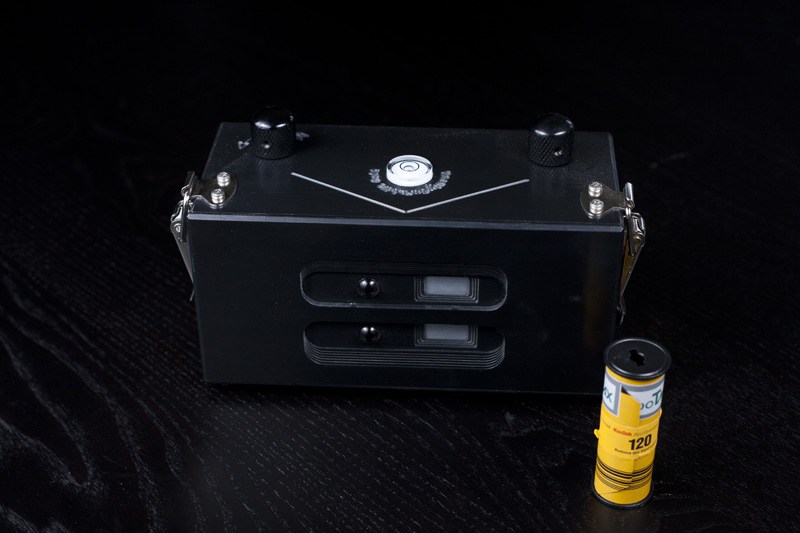
RealitySoSubtle 6x12 Camera (link)
With my 5x4 camera I was unable to take exceptionally wide photographs, the widest I could manage was approximately 60mm (equivalent to about 16mm on full frame 35mm cameras). The light fall-off on these photographs should be about two stops, which looks about right based on the results I got.
The Results
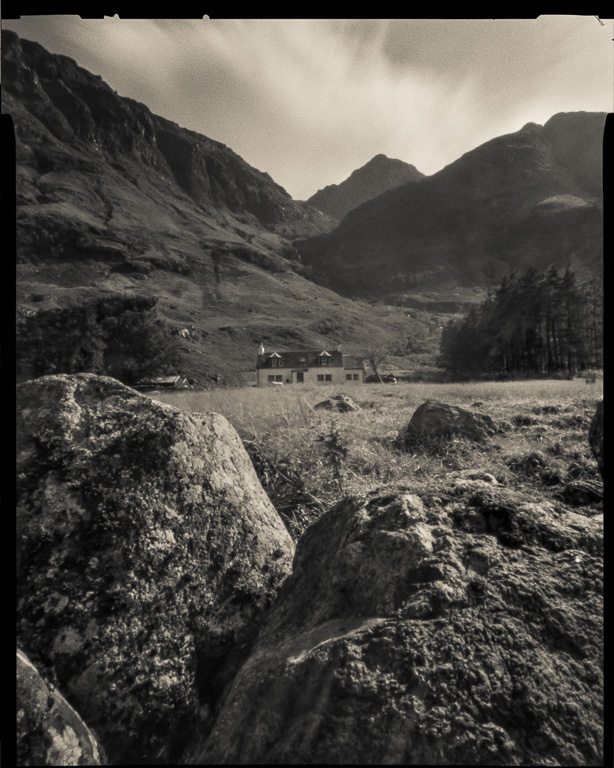
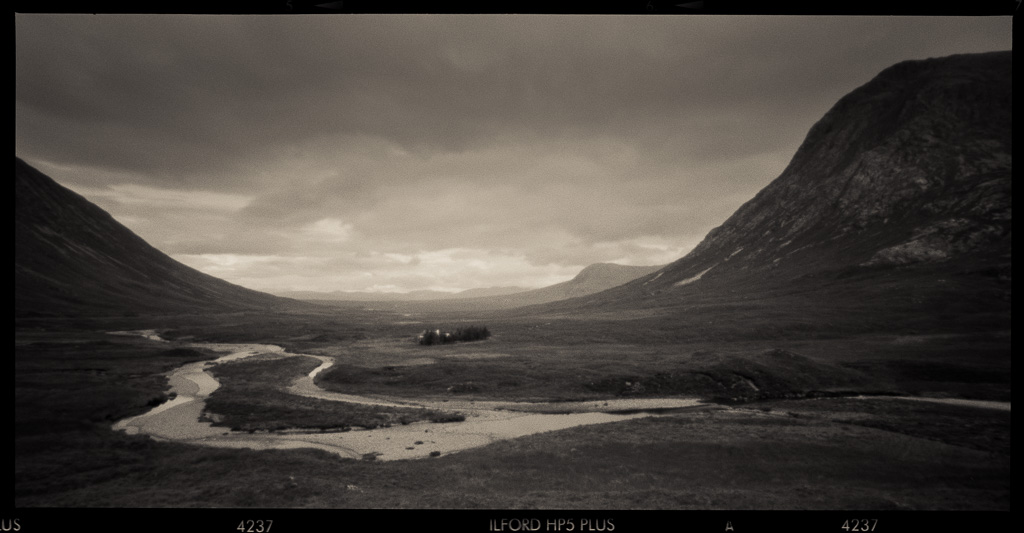
What surprised me most was just how sharp some of the results were. If you are one of those people who characterise pinholes as generally blurry or having an out of focus look, think again. In this particular photograph of Achnambeithach at the bottom of the three sisters, the detail in the house is quite incredible considering there is no lens involved.
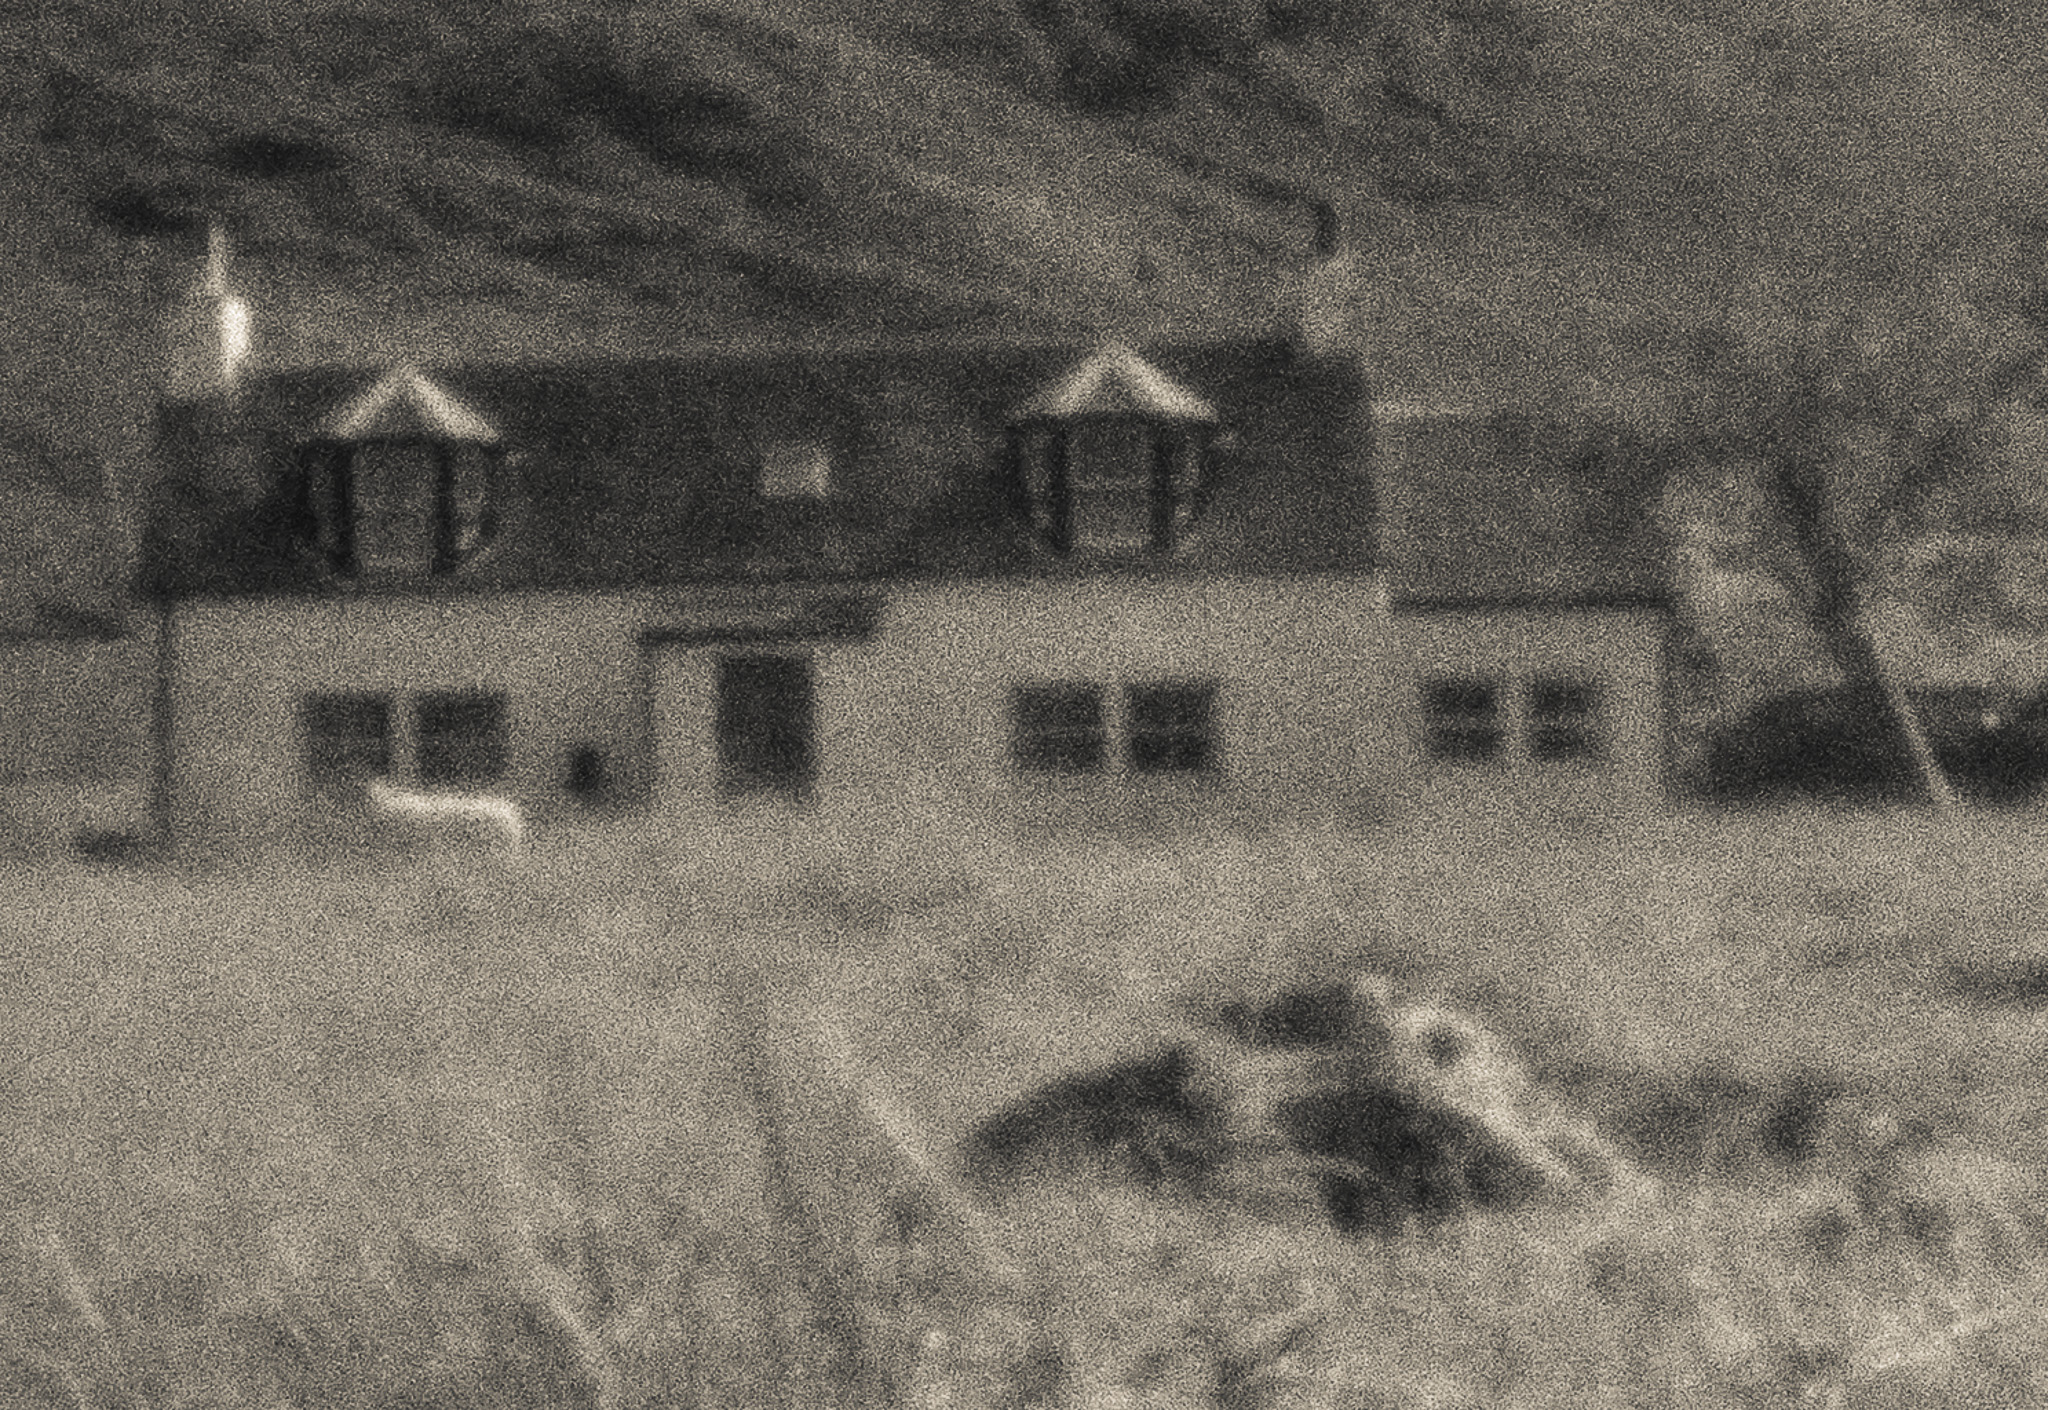
In fact, the detail is probably too much and a few people commented that if you want sharp photographs shouldn’t you be using a lens? Well, that’s a pretty good argument but the pictures do have a certain aesthetic that I haven’t seen from a straightforward optical photograph. I surmise that there is probably a sweet spot in terms of film size and this is probably in the medium format territory. I'll probably make or buy a 6x12 camera with masks.
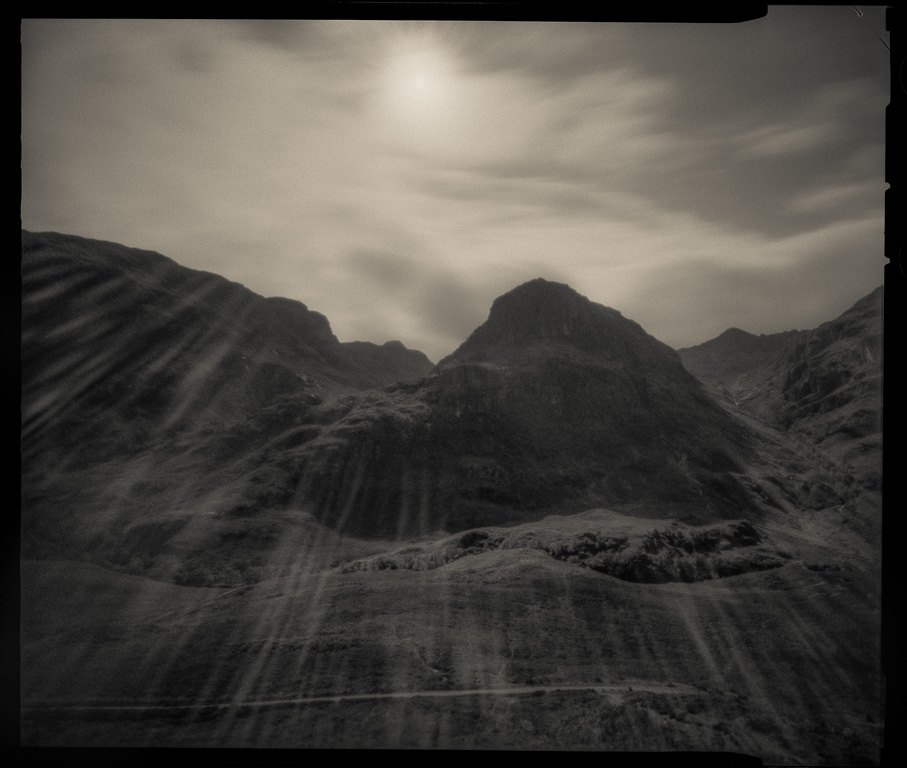
Here’s another photograph look directly at the Three Sisters in Glencoe and displaying the flare that is characteristic of pinhole photography. These ‘rays’ are presumably tiny reflections from the imperfections in the pinhole (which goes to show you that even a £55 hole isn’t aberration free). Also, with flare in mind, you are still best to shade the pinhole if the sun is outside of the field of view of the photograph as light rays can still be bounced onto the film via these imperfections.
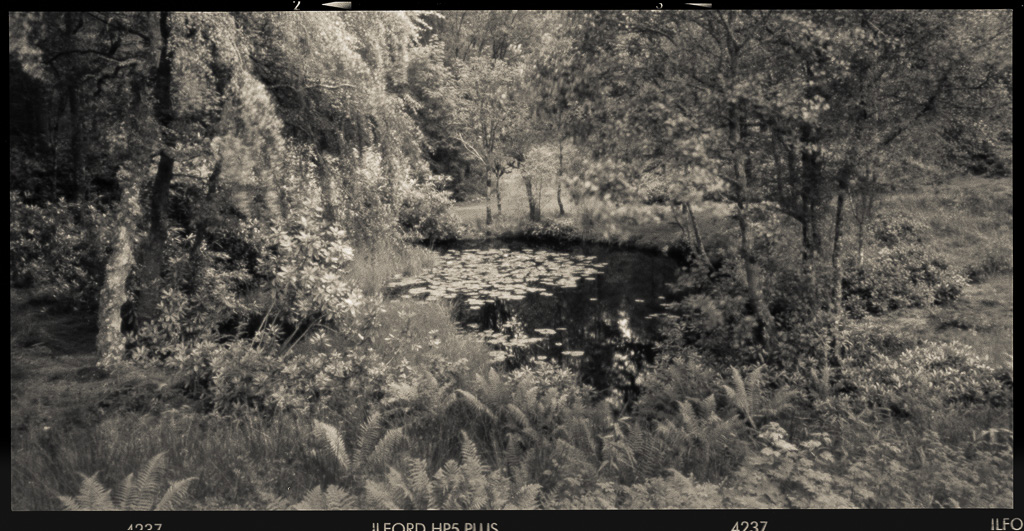
Here’s a photograph that is about as wide as I could get with the large format setup, taken from the bridge over the river Coe at the bottom of the three sisters.
Another surprising thing that I discovered whilst developing and scanning these photographs is the amazing latitude of Ilford HP5! I overexposed most of the photographs by at least two stops (in order to ensure no blocking up in the corners) and yet the highlights were clearly captured on film without excessive grain, witness the Three Sisters photograph looking directly into the sun with the shaded hills.
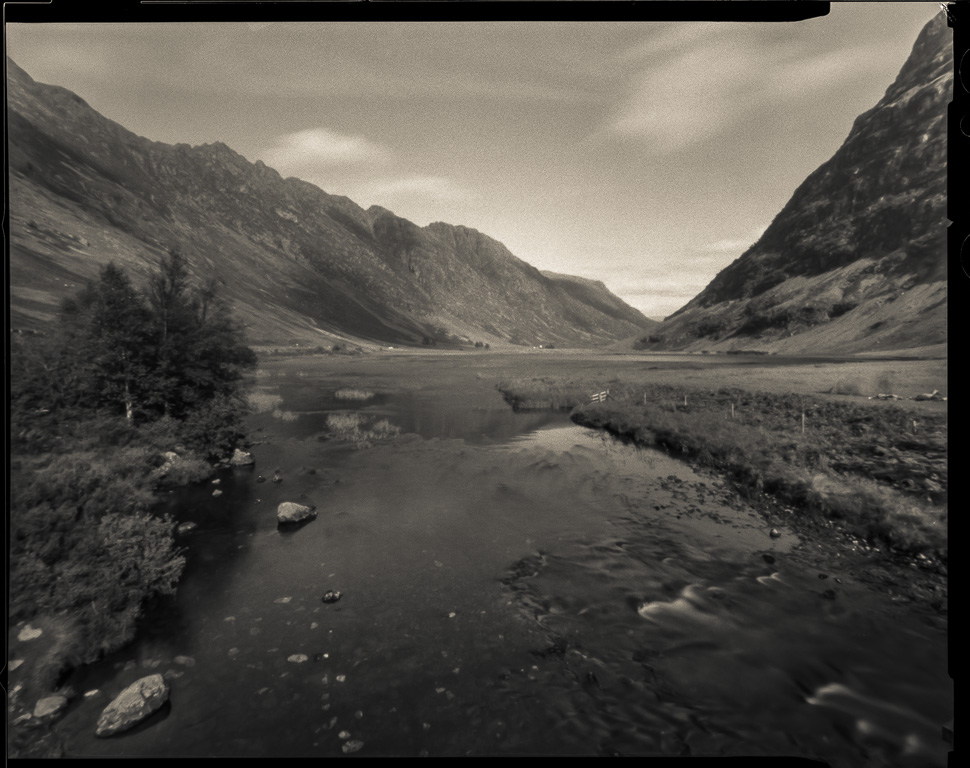
Here are a couple of results using the Horseman 6x12 back on the Ebony.
I have to say I'm very pleased with the results from the pinhole photographs I have taken so far and will be looking at making or purchasing a simple box camera pinhole when I get a chance.
Resources for the Pinhole Photographer
Whilst I was putting together the article on pinhole photography, I invested in a few books to research the genre. Here are a few favourites.
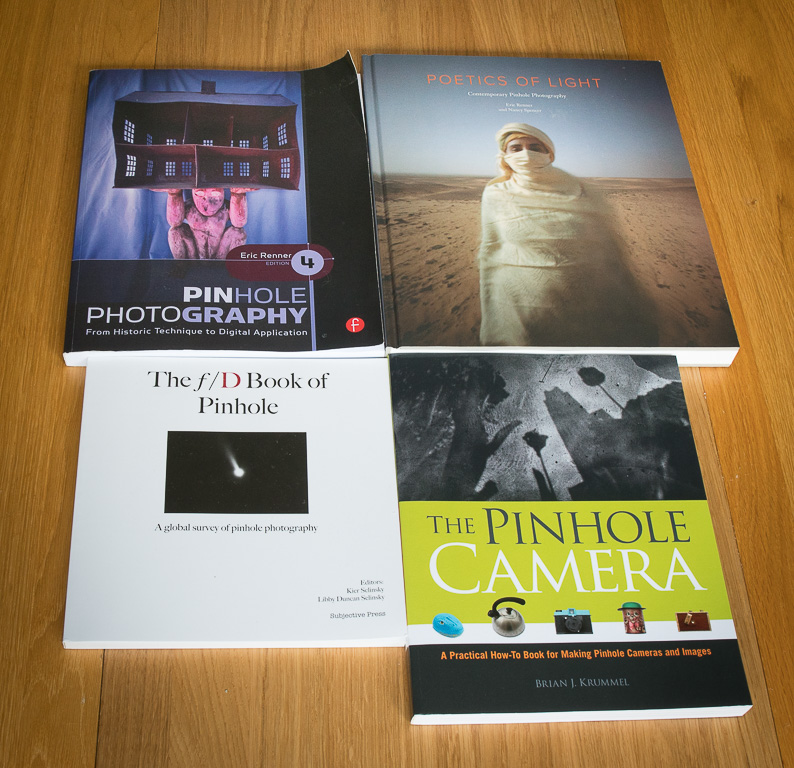
Pinhole Photography by Eric Renner (2008)
An excellent treatise on the history, techniques and application of pinhole photography. A must buy for those interested in pinhole photography.
ISBN: 978-0240810478
The Pinhole Camera by Brian J Krummel(2009)
Covers a lot of ground including things like how to develop film and also includes some very nice pinhole work in a gallery in the back
ISBN: 978-1442187665
The f/D Book of Pinhole by Kier and Libby Selinsky (2016)
A global survey of pinhole photography. A digital print book with an eclectic collection of practitioners represented.
ISBN: 978-0692837337
Poetics of Light by Eric Renner and Nancy Spencer (2014)
A very well put together and varied portfolio covering a wide range of practitioners and techniques.
ISBN: 978-0890135884
I also looked around at various websites and here is a selection of ones I found useful.
- F/d. Exploring the art of pinhole photography - fslashd.com
- The pinhole manual - pinholemanual.wordpress.com
And finally, you can find some calculators on the Mr Pinhole website.